Ledger Panel Sale | Wholesale Ledger Panels

Ledger Panel

Showing all 9 products

FREQUENTLY ASKED QUESTIONS

The value of ledger panels can vary depending on several factors, including the type of stone used (natural versus artificial), the quality of the material, and the specific characteristics of the panels.  In general  real travertine like Ivory travertine , or Roman Classic travertine is ideal. Here's a comparison between natural stone and artificial stone ledger panels:

Natural Stone Ledger Panels:

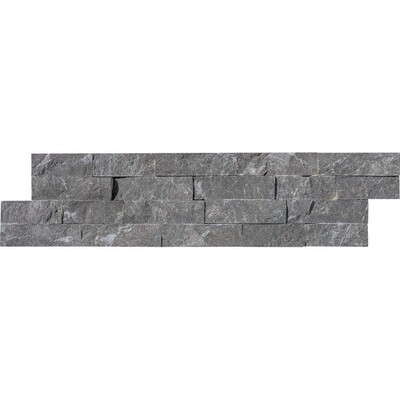
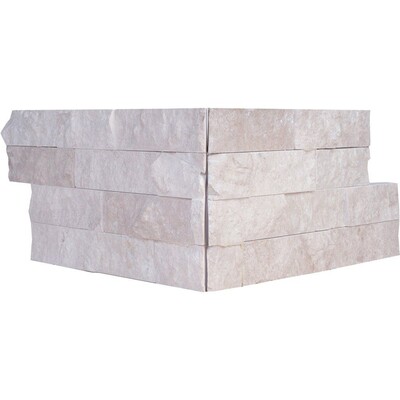
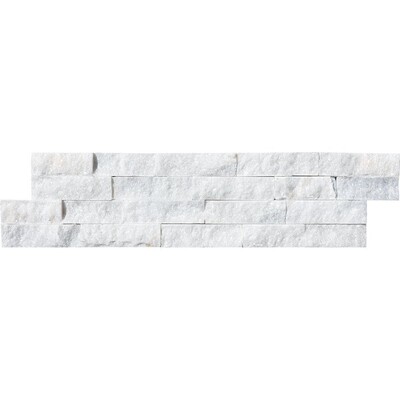
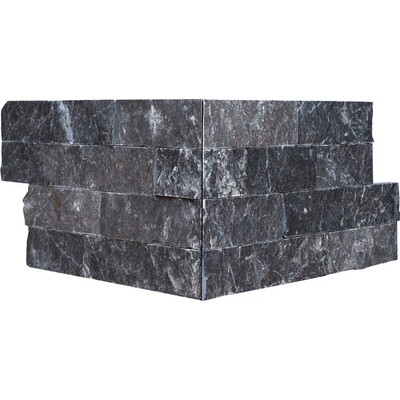
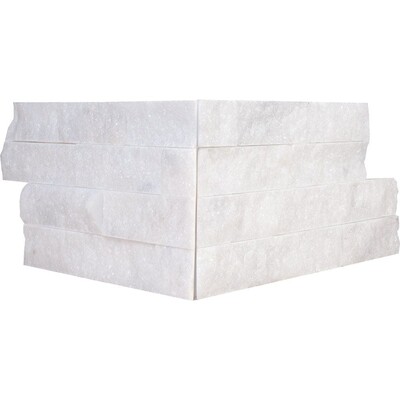
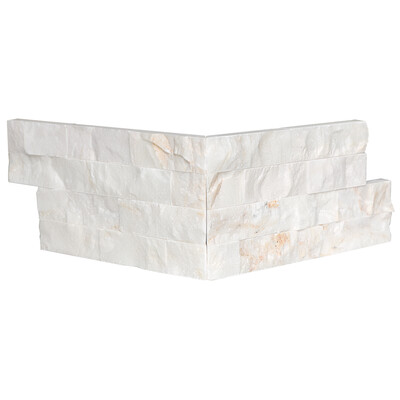
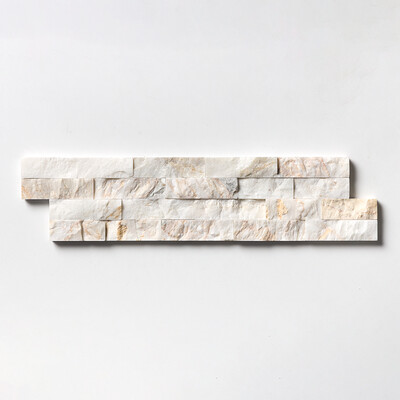
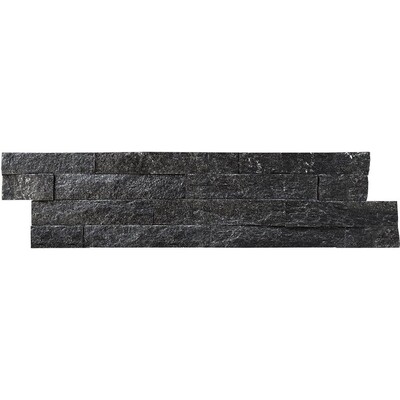
  1. Value: Natural stone ledger panels are generally considered more valuable because they are made from genuine stone extracted from quarries. The unique patterns, colors, and textures of natural stone add to its aesthetic appeal and perceived value.  Black slate, or Indian slate is some of the best natural stone alternates.   Slates from India split much better and give that natural stone look as well as all travertines.  Natural crevices in travertine make it an ideal material to split and give a real stone look.
  2. Durability: Natural stone ledger panels are known for their durability and longevity. They can withstand outdoor elements and high-traffic areas without losing their beauty or structural integrity.
  3. Variety: Natural stone offers a wide range of options, including marble, slate, travertine, quartzite, and more. Each type of stone has its own distinctive characteristics, allowing for diverse design possibilities. Ivory travertine, Silver travertine, Black slate and green slate are some of the most popular colors.
  4. Maintenance: While natural stone ledger panels are durable, they may require periodic sealing to protect against moisture, stains, and other damage. Routine cleaning and maintenance are also recommended to preserve their appearance over time.

Artificial Stone Ledger Panels:

  1. Value: Artificial stone ledger panels are typically less expensive than natural stone panels because they are manufactured using a combination of natural aggregates, pigments, and resins. However, the perceived value of artificial stone may vary depending on the quality of the materials and manufacturing process.
  2. Durability: Artificial stone ledger panels are designed to mimic the look and feel of natural stone while offering improved consistency and uniformity. They are generally durable and resistant to wear and tear, but may not be as robust as natural stone in certain applications. In fact most artificial stone panels fade after a while. Specially in exterior applications, all artificial stone ledger panels will fade under direct sun.
  3. Variety: Artificial stone ledger panels come in a wide range of colors, patterns, and textures, offering versatility in design options. Manufacturers can replicate the appearance of various types of natural stone, allowing for customization to suit different aesthetic preferences.

Installing ledger panels typically involves several steps:

  1. Preparation: Ensure that the surface where you plan to install the ledger panels is clean, dry, and structurally sound. If necessary, repair any damaged areas and remove any existing finishes or debris.
  2. Adhesive Application: Apply a suitable adhesive or mortar to the back of each ledger panel using a notched trowel. Make sure to spread the adhesive evenly to ensure good adhesion to the surface. Mapei has some great adhesives for this purpose. As well as laticrete.
  3. Installation: Press each ledger panel firmly onto the prepared surface, following the layout guidelines. Use spacers between panels to maintain consistent spacing and alignment. Check periodically with a level to ensure that the panels are straight and level. In order to make the joint lines disappear and make them less visible, please shift and alternate tiles in each row so that repeat does not show.
  4. Cutting: Use a wet saw or a tile cutter to cut ledger panels to fit around corners, edges, or other obstacles as needed. Wear appropriate safety gear, such as safety glasses and gloves, when cutting stone. Make sure to hold to the bonding mesh so that tiles don’t disappear.
  5. Grouting: Once the adhesive has fully cured, typically after 24-48 hours, remove any spacers and fill the gaps between the ledger panels with grout using a grout float. Work the grout into the joints, ensuring they are completely filled. Please note that grouting these will be difficult and you may want to leave them without grout.
  6. Cleaning: After the grout has set for a short while (usually around 10-20 minutes), use a damp sponge to clean the excess grout from the surface of the ledger panels. Rinse the sponge frequently to avoid smearing grout over the panels.
  7. Sealing: Depending on the type of ledger panels and the specific installation location, it may be necessary to apply a sealant to the surface of the panels to protect them from moisture, stains, and other damage. Follow the manufacturer's recommendations for sealing products and application instructions. Be sure to use a good sealer like Ardex, or Mapei.
  8. Finishing Touches: Once the installation is complete and the sealant has dried, inspect the installation for any remaining grout residue or imperfections. Clean the surface again if necessary, and make any final adjustments or touch-ups as needed.

Ledger panels are thin, rectangular long pieces of natural stone, such as marble, slate, or travertine, that are used to cover walls or create decorative features. They are often used in interior and exterior design to add texture and visual interest to surfaces like fireplaces, accent walls, or backsplashes. The panels are typically installed in a stacked linear arrangement, creating a contemporary and stylish look.

You can use ledger panels in various ways to enhance the aesthetic appeal of both interior and exterior spaces:

  1. Fireplace Surrounds: Ledger panels can be used to create a stunning interior  fireplace surround, adding texture and visual interest to the focal point of the room.
  2. Accent Walls: Install ledger panels on one wall of a room to create an eye-catching accent wall, adding depth and character to the space such as library walls, or interior kitchen tile areas.
  3. Exterior Walls: Use ledger panels to cover exterior walls of buildings or outdoor structures, such as garden walls or retaining walls, to enhance their appearance and durability. Outdoor cooking areas are some of the most common applications of ledger stone panels.
  4. Kitchen Backsplashes: Install ledger panels as a backsplash in kitchens to add a unique and stylish touch to the cooking area. While these look very nice, it may be difficult to clean them.
  5. Bathroom Walls: Use ledger panels in bathrooms to create a spa-like atmosphere, either as an accent wall behind the bathtub or as a feature wall in the shower area. Same concern is valid here. Cleaning these walls will be challenging.
  6. Outdoor Kitchen or Barbecue Areas: Install ledger panels in outdoor kitchen or barbecue areas to create a stylish and durable cooking space.
  7. Water Features: Incorporate ledger panels into water features, such as fountains or waterfall walls, to add a natural and visually appealing element to the landscape design. Pool walls overlooking gardens or exterior living spaces will be great.
  8. Columns or Pillars: Cover columns or pillars with ledger panels to add architectural interest to outdoor spaces like patios or entryways. Due to its linear sizes, rectangular or square columns will be better.
  9. Entryway or Foyer: Use ledger panels in the entryway or foyer of a home to make a striking first impression on guests.
  10. Commercial Spaces: Ledger panels can also be used in commercial settings, such as restaurants, hotels, or retail stores, to create unique and inviting interior or exterior designs. Particularly, hotels in warm climates and all its exterior walls will be idea .